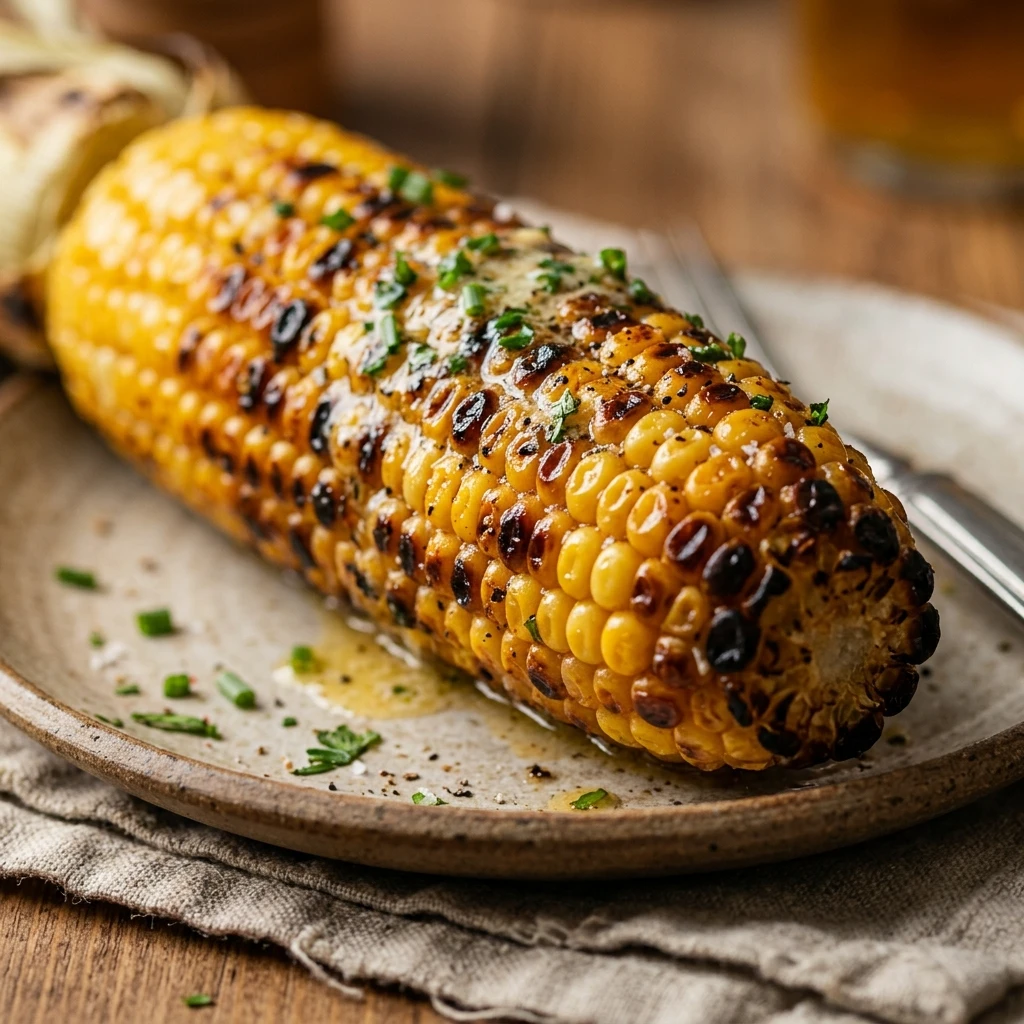

There is nothing quite like the smell of fresh corn hitting a hot grill on a sunny afternoon. Grilled corn on the cob is the quintessential summer side dish, offering a smoky sweetness that boiling simply cannot match. Whether you are hosting a big backyard barbecue or just looking for a quick vegetable to pair with your weeknight dinner, this recipe is foolproof and delicious.
With just a few simple ingredients and about 20 minutes, you can transform humble ears of corn into a charred, buttery masterpiece. This method focuses on grilling the corn directly on the grates for those beautiful char marks and maximum flavor. It is simple, fast, and always a crowd-pleaser.
Recipe Information
- Prep Time: 5 minutes
- Cook Time: 15 minutes
- Total Time: 20 minutes
- Servings: 4
- Difficulty Level: Easy
Nutrition Information
- Calories per serving: 155
- Protein: 3g
- Carbohydrates: 19g
- Fat: 9g
- Fiber: 2g
- Sugar: 6g
- Sodium: 160mg
Why Make This Easy Grilled Corn On The Cob
This recipe is a game-changer because it requires minimal effort for maximum payoff. Grilling the corn without the husks allows the natural sugars to caramelize against the high heat, creating a depth of flavor that is both sweet and smoky. It eliminates the mess of soggy husks and gives you those iconic grill marks that look stunning on any plate.
Another reason to love this recipe is its versatility. Once the corn is grilled, it serves as a blank canvas for any toppings you desire. It is a budget-friendly side dish that pairs perfectly with everything from burgers and steaks to grilled fish and tacos. Plus, cleanup is a breeze since you are cooking directly on the grill!
How to Make Easy Grilled Corn On The Cob
Getting that perfect char while keeping the kernels juicy is easier than you think; just follow these simple steps to bring out the best of your summer harvest.
Ingredients
- 4 ears of fresh corn, shucked and cleaned of silk
- 2 tablespoons unsalted butter, melted
- 1/2 teaspoon kosher salt
- 1/4 teaspoon black pepper
- Optional: Fresh parsley or cilantro for garnish
- Optional: Lime wedges for serving
Directions
Step 1: Preheat the Grill
Clean your grill grates and preheat your grill to medium-high heat (about 400°F). Ensuring the grill is hot before adding the corn is essential for getting those perfect sear marks without overcooking the inside.
Step 2: Prepare and Season the Corn
While the grill is heating up, remove all husks and silk from the corn. Brush each ear generously with the melted butter. Sprinkle the salt and pepper evenly over the kernels so every bite is seasoned.
Step 3: Grill the Corn
Place the corn ears directly onto the hot grill grates. Close the lid and cook for about 12 to 15 minutes. Use tongs to turn the corn every 3 to 4 minutes so that it browns evenly on all sides.
Step 4: Garnish and Serve
Once the corn is tender and has charred spots, remove it from the grill. Brush with a little extra butter if desired, sprinkle with fresh herbs, and serve immediately while hot.
How to Serve Easy Grilled Corn On The Cob
Serve this grilled corn while it is still steaming hot. It is traditionally served on the cob with an extra pat of butter, but you can also cut the kernels off the cob to use in salads, salsas, or pasta dishes. For a classic BBQ feel, serve it alongside grilled chicken, juicy burgers, or rack of ribs. A squeeze of fresh lime juice right before eating can also brighten up the smoky flavors beautifully.
How to Store Easy Grilled Corn On The Cob
If you have leftovers, allow the corn to cool completely before storing. Wrap individual cobs in aluminum foil or place them in an airtight container. They will stay fresh in the refrigerator for up to 3 to 4 days. To reheat, you can pop them back on the grill for a few minutes, use a microwave, or warm them in a 350°F oven until heated through.
Expert Tips for Perfect Easy Grilled Corn On The Cob
For the best results, always look for corn with bright green, tight husks and slightly tacky silk; this indicates the corn is fresh and sweet. If you prefer a softer texture with less char, you can wrap the seasoned corn in aluminum foil before grilling, though you will miss out on the smoky flavor of the direct flame.
Do not overcook the corn! Corn is ready when the kernels turn a vibrant yellow and are tender to the touch. Leaving it on the grill too long can make the kernels tough and starchy rather than sweet and juicy. If your grill has a “warm” rack, move the corn there if the rest of your meal isn’t quite finished yet.
Delicious Variations
You can easily customize this recipe by changing the toppings. Try “Mexican Street Corn” style by brushing the grilled corn with mayo, then topping with cotija cheese, chili powder, and cilantro. For a Mediterranean twist, use olive oil instead of butter and sprinkle with dried oregano and crumbled feta cheese.
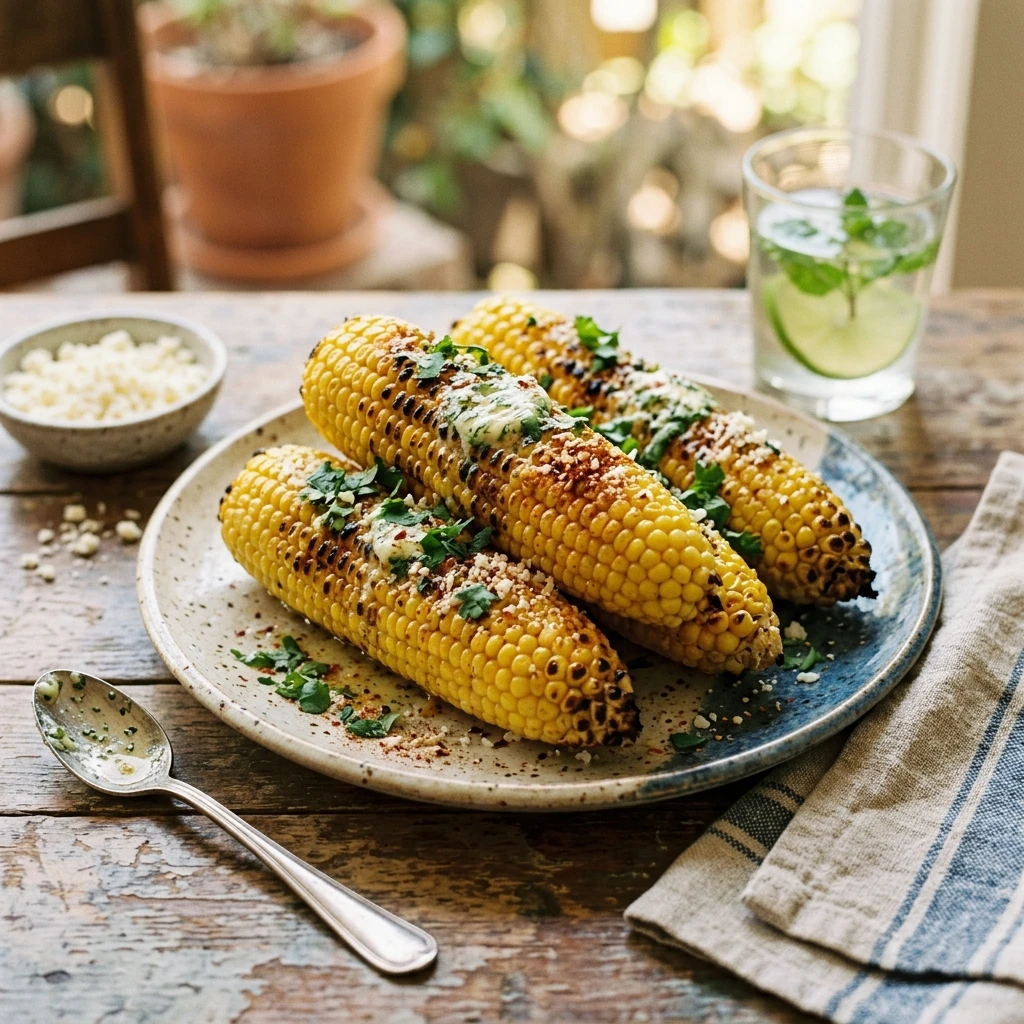
Garlic lovers can mix some minced garlic or garlic powder into the melted butter before brushing. For those who like heat, a sprinkle of cayenne pepper or a drizzle of sriracha over the finished cob adds a fantastic kick that balances the sweetness of the corn.
Frequently Asked Questions
Q: Do I need to soak the corn before grilling?
If you are grilling the corn without the husks (as in this recipe), there is no need to soak it. Soaking is only necessary if you are grilling with the husks on to prevent them from catching fire.
Q: Can I use frozen corn on the cob?
Yes, you can use frozen corn. Make sure to thaw it completely and pat it dry before brushing with butter and grilling so that it chars properly.
Q: How do I know when the corn is done?
The kernels will turn a deeper, more vibrant yellow and will appear slightly translucent. They should feel tender when pierced with a fork and have several golden-brown or black charred spots.
Q: Can I make this on a stovetop grill pan?
Absolutely! Use a cast-iron grill pan over medium-high heat. Follow the same steps, turning the corn frequently to get even char marks.
Q: Is it better to grill corn with or without the husk?
Grilling without the husk is faster and provides a smokier flavor with better caramelization. Grilling with the husk steams the corn, making it very tender but with less “grilled” flavor.
Conclusion
Easy Grilled Corn on the Cob is a simple pleasure that defines outdoor cooking. It requires very little prep and delivers a flavor that everyone loves. By following this direct-grill method, you get a beautiful balance of sweetness and smoke that makes for the perfect side dish. Next time you fire up the grill, make sure you have some fresh corn ready to go—your guests will thank you!
Easy Grilled Corn On The Cob
- Cook Time: 20 minutes
- Total Time: 20 minutes
- Diet: Vegetarian, Gluten-Free
Ingredients
- 4 ears of fresh corn, shucked and cleaned of silk
- 2 tablespoons unsalted butter, melted
- 1/2 teaspoon kosher salt
- 1/4 teaspoon black pepper
- Optional: Fresh parsley or cilantro for garnish
- Optional: Lime wedges for serving
Instructions
- Step 1: Preheat the Grill. Clean your grill grates and preheat your grill to medium-high heat (about 400°F). Ensuring the grill is hot before adding the corn is essential for getting those perfect sear marks without overcooking the inside.
- Step 2: Prepare and Season the Corn. While the grill is heating up, remove all husks and silk from the corn. Brush each ear generously with the melted butter. Sprinkle the salt and pepper evenly over the kernels so every bite is seasoned.
- Step 3: Grill the Corn. Place the corn ears directly onto the hot grill grates. Close the lid and cook for about 12 to 15 minutes. Use tongs to turn the corn every 3 to 4 minutes so that it browns evenly on all sides.
- Step 4: Garnish and Serve. Once the corn is tender and has charred spots, remove it from the grill. Brush with a little extra butter if desired, sprinkle with fresh herbs, and serve immediately while hot.